Getting frustrated with that stubborn grime trapped between your oven door glass panels? You're not alone. Studies show that around 70% of homeowners struggle to keep their oven glass looking clear, with the hidden inner glass panel being the most common complaint. We're here to walk you through exactly how to clean the glass between oven door panels safely and effectively.
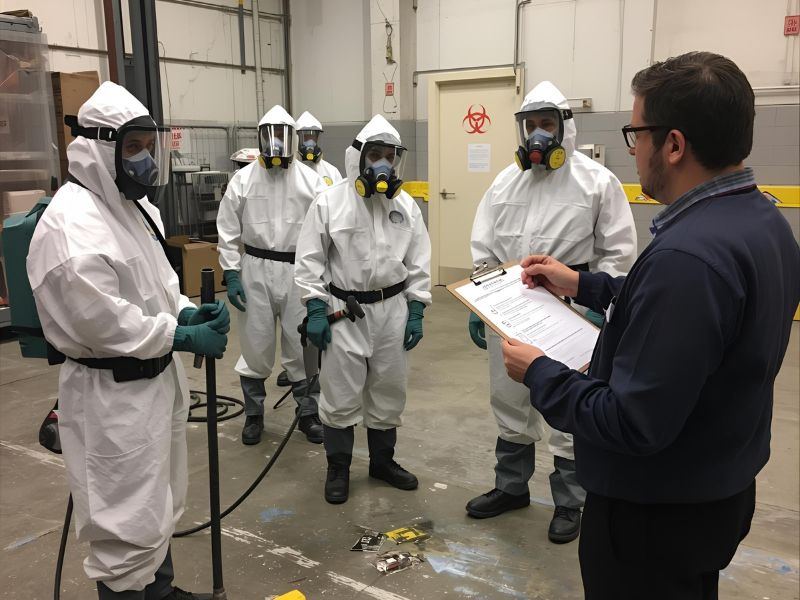
Many modern ovens have removable doors and glass panels, but research suggests that more than half of oven owners don't realise this feature exists, making cleaning much harder than it needs to be. At Biohazard Cleaning Courses, we've helped countless people master this essential cleaning skill.
🔥 Launch Your Oven Cleaning Business
Comprehensive training for a profitable specialist service
🎯 Specialist Service
💼 Business Launch
🏆 Professional Training
💰 High Margins
Start Our Oven Cleaning Training Course
Turn appliance cleaning into profit
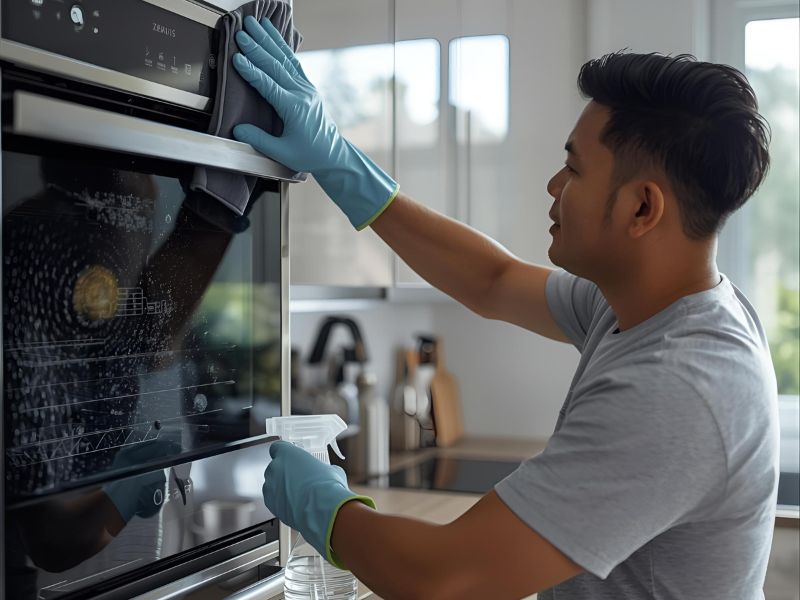
Understanding Why Your Oven Glass Gets So Dirty
The space between your oven door glass panels acts like a grease trap during cooking. When you cook, steam and grease vapours can seep through tiny gaps in the door seal, settling between the glass panes. Grease and carbon deposits trapped between the panes of glass can reach temperatures of over 200°C during cooking, which bakes the residue on and makes it far tougher to remove.
Surveys indicate that oven doors are one of the top three dirtiest areas in the kitchen, largely because the build-up inside the glass isn't visible until it becomes cloudy or streaked. This hidden dirt accumulates over months or years, creating those unsightly brown stains that seem impossible to clean from the outside.
Identifying Your Oven Door Type
Before you start, you need to understand your oven's design. Most modern ovens fall into three categories:
Single Glass Panel: Older ovens typically have one thick glass panel that's fixed in place.
Double Glass Panel: Most common in mid-range ovens, featuring an outer glass and inner glass separated by an air gap.
Triple Glass Panel: Premium ovens often have three layers for maximum insulation. Ovens with triple-glass doors are even trickier to clean, as grease can seep into more than one layer, often requiring full dismantling.
Check your oven's manual to identify which type you have. The instruction manual will also show you the correct door removal method for your specific model.
Essential Tools and Materials You'll Need
Gather these items before you begin:
Cleaning Products:
- Baking soda (bicarbonate of soda)
- White vinegar
- Dish soap
- Glass cleaner (optional)
- Cleaning solution of your choice
Tools and Equipment:
- Microfiber cloth (several)
- Paper towels
- Spray bottle
- Rubber bands (for securing cleaning tools)
- Phillips head screwdriver
- Cleaning tool with a long handle
- Wet rag for wiping
Safety Items:
- Work gloves
- Safety glasses
- Old towels for workspace protection
A growing trend is the use of eco-friendly paste cleaners like bicarbonate of soda and vinegar, which are not only safer but also effective for breaking down grease between oven glass panes.
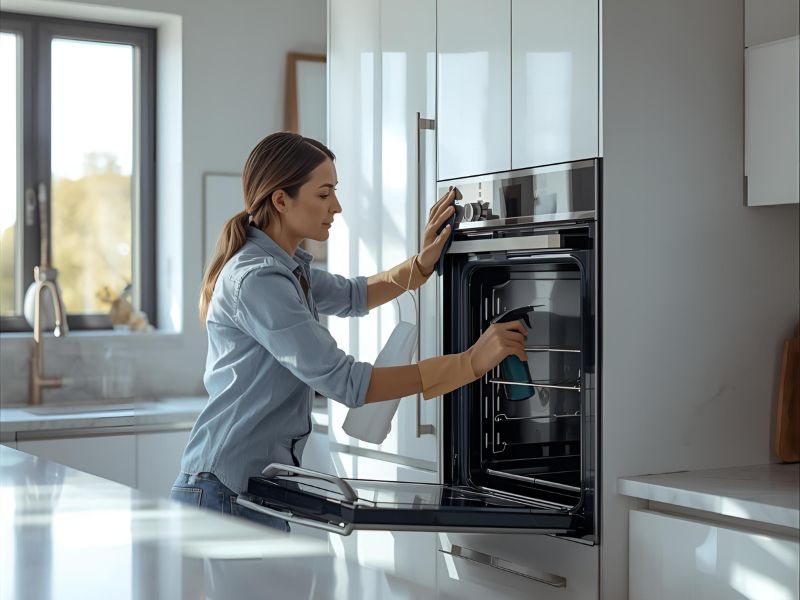
Safety First: Preparing Your Workspace
Turn off your oven and let it cool completely. Even if you haven't used it recently, the interior can retain heat for several hours. Disconnect the power to your oven at the circuit breaker for added safety.
Clear a flat, padded surface near your oven where you can lay the door face-down. Use old towels to protect both the door and your work surface. Professional oven cleaners report that around 40% of their callouts involve customers frustrated with glass door cleaning, often because they've tried and failed to remove the streaks themselves using improper techniques.
Removing Your Oven Door Safely
Most oven doors can be removed by lifting them at a specific angle while the hinges are in the unlocked position. Here's the general method:
- Open the door to the fully open position
- Locate the hinge locks on each side (usually small metal clips)
- Flip these locks forward to unlock the hinges
- Close the door partially (about 45 degrees)
- Lift the door straight up and pull it towards you
The door should slide off the hinges. This job typically takes 2-3 minutes once you know the method. If you encounter resistance, stop and consult your oven's manual, as some models have slightly different procedures.
Accessing the Inner Glass Panels
With the door removed, lay it face-down on your padded work surface. Look for screws around the inner edge of the door. These screws hold the inner door panel in place and provide access to the glass panels.
Using your screwdriver, carefully remove these screws. Keep them in a safe place, as losing even one screw can prevent proper reassembly. The most common DIY mistake is using abrasive sponges or metal scrapers, which can permanently scratch the glass and even weaken the heat-resistant coating.
Gently lift away the inner door panel to reveal the glass panels. You might find rubber seals or gaskets around the glass edges. Remove these carefully and note their position for reassembly.
Creating Your Cleaning Solution
The most effective approach uses equal parts white vinegar and water in your spray bottle, plus a paste made from baking soda and water. This combination breaks down grease and built-up grime without damaging the glass surface.
For stubborn grease, create a paste using:
- 3 tablespoons baking soda
- 1 tablespoon dish soap
- 1 tablespoon white vinegar
Mix until you have a spreadable consistency. This paste excels at breaking down the stubborn grease that accumulates between glass panes.
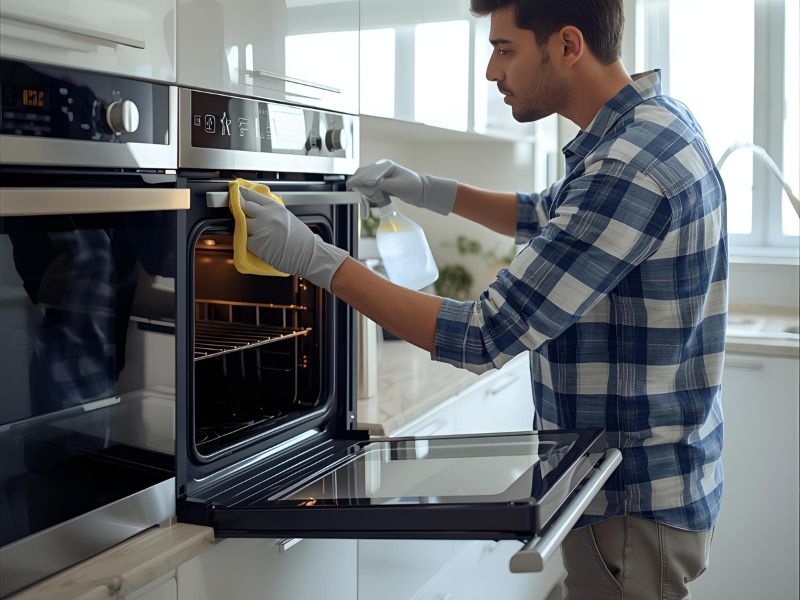
The Step-by-Step Cleaning Process
Step 1: Initial Assessment Examine the glass panels to identify the worst affected areas. Look for brown stains, grease spots, and any scratches that might need special attention.
Step 2: Apply Cleaning Solution Spray your vinegar solution generously on both sides of each glass panel. Let the cleaner sit for 10-15 minutes to penetrate the grime.
Step 3: Apply Paste to Problem Areas Spread your baking soda paste over stubborn stains and built-up grease. Use a microfiber cloth to work the paste into the dirt gently.
Step 4: Let Chemistry Work Allow the cleaning products to sit for another 10 minutes. This gives them time to break down the grease and carbon deposits.
Step 5: Gentle Scrubbing Using a microfiber cloth, gently scrub the glass panels in circular motions. Avoid putting too much pressure on the glass, as this can cause scratches.
Step 6: Clean Hard-to-Reach Areas For areas between glass panes that are difficult to access, wrap a microfiber cloth around a long, thin tool (like a ruler) and secure it with rubber bands. This creates an effective cleaning tool for narrow spaces.
Step 7: Rinse and Wipe Use clean, damp paper towels to remove all cleaning residue. Any leftover cleaning solution will leave streaks when the oven heats up.
Step 8: Final Polish Use a dry microfiber cloth to polish the glass to a streak-free finish. Clean oven glass should be crystal clear when you're done.
Dealing with Stubborn Grease and Stains
If standard cleaning doesn't remove all the grime, try these advanced techniques:
For extremely stubborn grease, let the baking soda paste sit overnight. The extended contact time helps break down even the most baked-on deposits.
For brown stains that won't budge, apply straight white vinegar and cover with a damp towel. Let this sit for 30 minutes before scrubbing gently.
Never use harsh chemicals, steel wool, or abrasive cleaners on oven glass, as these can permanently damage the surface.
Cleaning the Door Frame and Seals
While the glass panels dry, clean the door frame and rubber seals. Use warm soapy water and a soft cloth to remove grease and food particles. Check the seals for damage, as compromised seals can allow more grease to enter between the glass panels.
Wipe the frame thoroughly with a wet rag, then dry completely before reassembly.
Reassembling Your Oven Door
Reassembly reverses the dismantling process:
- Replace any rubber seals in their original positions
- Carefully position the inner glass panel
- Replace the outer glass panel if you removed it
- Reinstall all screws in their original locations
- Tighten screws evenly to avoid putting stress on the glass
Take your time with this step. Rushed reassembly can lead to misaligned panels or broken seals.
Reinstalling the Complete Door
With the door fully reassembled:
- Position the door at approximately 45 degrees
- Align the hinges with the hinge slots on the oven
- Push the door down onto the hinges
- Open the door fully and flip the hinge locks back to their locked position
- Test the door operation by opening and closing it several times
The door should open and close smoothly without binding or unusual resistance.
Testing Your Work
Turn your oven power back on and run a brief test cycle. Heat the oven to 200°C for 15 minutes, then let it cool. This test ensures everything is properly assembled and identifies any issues before your next cooking session.
Check that the door seals properly when closed and that no unusual odours develop during heating.
Maintaining Your Clean Oven Glass
On average, it takes a homeowner 30-45 minutes to fully remove, dismantle, clean, and reassemble an oven door, but many avoid doing it for years, letting the dirt worsen. Regular maintenance prevents this buildup:
Monthly: Wipe the exterior glass with glass cleaner and a microfiber cloth Quarterly: Clean the oven interior to reduce grease vapours Annually: Perform the full door disassembly and deep clean described above As needed: Address spills and splatters immediately
🔥 Launch Your Oven Cleaning Business
Comprehensive training for a profitable specialist service
🎯 Specialist Service
💼 Business Launch
🏆 Professional Training
💰 High Margins
Start Our Oven Cleaning Training Course
Turn appliance cleaning into profit
Preventing Future Buildup
Use these strategies to keep your oven glass cleaner longer:
Cover dishes when possible to reduce splashing and steam Clean spills immediately while they're still warm and easier to remove Use your oven's self-cleaning cycle regularly to reduce overall grease buildup Check door seals periodically and replace them if damaged
When to Call a Professional
Consider professional help if:
- Your oven door won't come off despite following instructions
- You discover cracked or damaged glass panels
- The door doesn't operate properly after reassembly
- You're uncomfortable performing any part of this procedure
Seasonal peaks in demand occur just before Christmas and Easter, when people deep-clean their ovens to prepare for big family meals, with oven glass cleaning being a priority. For entrepreneurs researching how to start an oven cleaning business, these seasonal trends highlight the potential for strong customer demand.
Troubleshooting Common Issues
Door won't lift off: Check that hinge locks are fully disengaged and you're lifting at the correct angle
Screws won't budge: Apply gentle heat with a hair dryer to expand the metal slightly, then try again
Glass panels seem stuck: Look for additional clips or tabs holding them in place
Reassembled door doesn't close properly: Check that all seals are correctly positioned and screws are tightened evenly
Environmental Considerations
Choose eco-friendly cleaning methods when possible. Baking soda and white vinegar are biodegradable and safe for your family. Avoid aerosol cleaners in confined spaces and ensure good ventilation throughout the cleaning process.
Final Tips for Success
Take photos during disassembly to help with reassembly. Work in good lighting to see what you're doing clearly. Don't rush the process, especially if this is your first time cleaning between glass panels.
Remember that patience and the right technique matter more than elbow grease when cleaning oven glass. With the proper approach, you can achieve professional-quality results and maintain them with regular care.
Ready to tackle that dirty oven glass? Follow these steps carefully, and you'll have crystal-clear oven glass that lets you monitor your cooking properly. For professional training in advanced cleaning techniques, contact Biohazard Cleaning Courses for a free quote on our comprehensive cleaning courses.